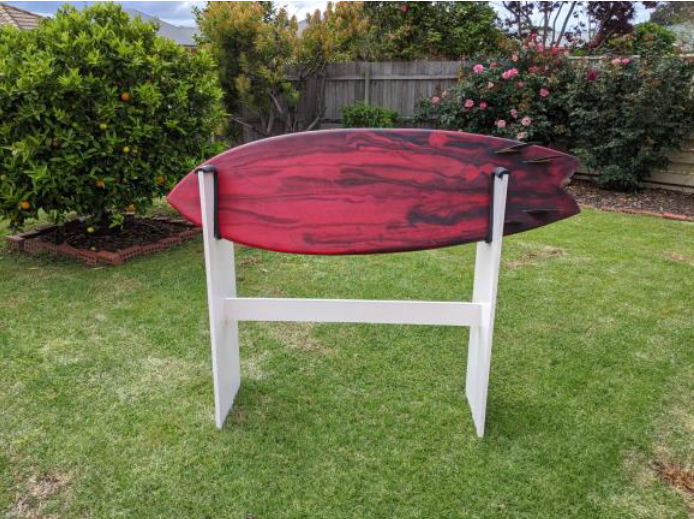
When building the rack you will need;
- 2 pieces of board approx 1200x500x12.
- Circular Saw
- Jigsaw
- Router (Optional)
- Wood glue
- Timber screws
- Drill
- Protective foam (32mm rubber pipe lag or similar)
When marking out the cavity for board placement, you need to consider what shape will allow you best access to all parts of the board. When shaping the deck and bottom of the board, you can simply use the flat surface on the top of the rack. However, when shaping the rails it is handy to have the board firmly held in place at approx 45 degrees.
I drew an outline of a shape that would firmly hold a board in postion when doing rail work. I also sketched a rectangle in the centre of the side panel to allow for affixing a stabiliser arm.

Carefully cut out the shape with a jigsaw. I used a router to cut a groove 10mm deep in the centre of the side pieces. This will be used for fixing the 2 end pieces together.

The stabiliser was a piece of leftover board 1200x100. Glue it in both ends and screw to secure it further.

Give the rack a coat of paint, and once that dries, line the board cavity with rubber protective strips.

The end product.
Glassing rack
I put together a quick glassing rack using some offcut timber and a 2.4m 90x45 pine stud. The platforms need to be narrow enough to allow at least 100mm clearance from the rail underneath the board. This will ensure that you can fold the glass curtain under the base of the board for cut-laps.
