Tips
-
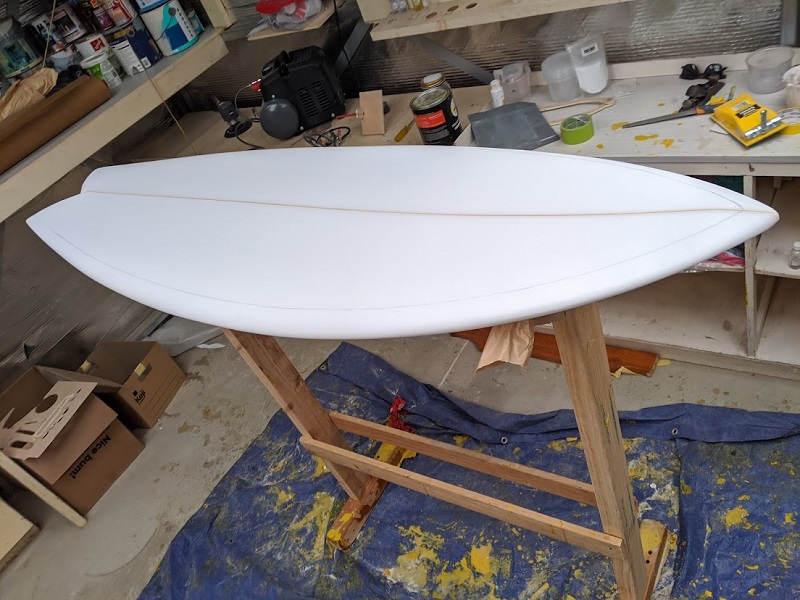
Trace your template onto the bottom of the blank - It's easier to cut when the rocker is pointing downward.
-
The foam is softer at the core of the board, so try to shave as little as possible off the deck, and take the bulk off the bottom of the blank. This will ensure that the firmest foam will be underfoot - the area which takes the most punishment when surfing. Firm foam at the deck = less compressions.
-
Plane the stringer to your desired thickness before you start sanding the foam.
Cutting the shape
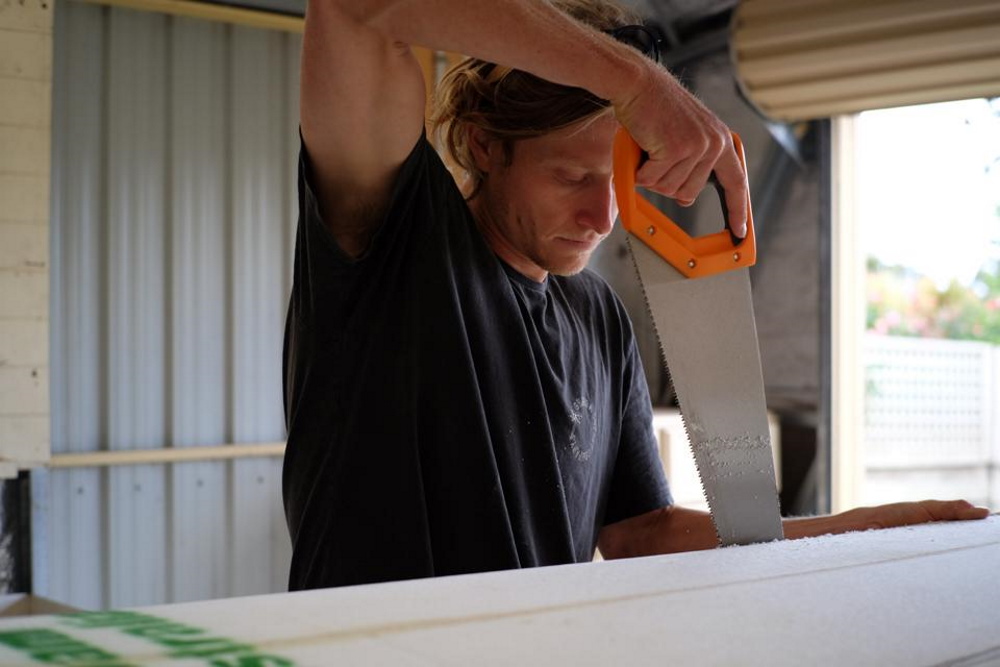
I used a timber saw, but any fine bladed saw will do.
Carefully enter the foam at one end and follow your stencil leaving about 3mm extra foam outside your line - this will be sanded back later. Make sure your blade makes a vertical cut (Perpendicular to the deck), otherwise it will be difficult to straighten your rails later on.
Shaping the bottom
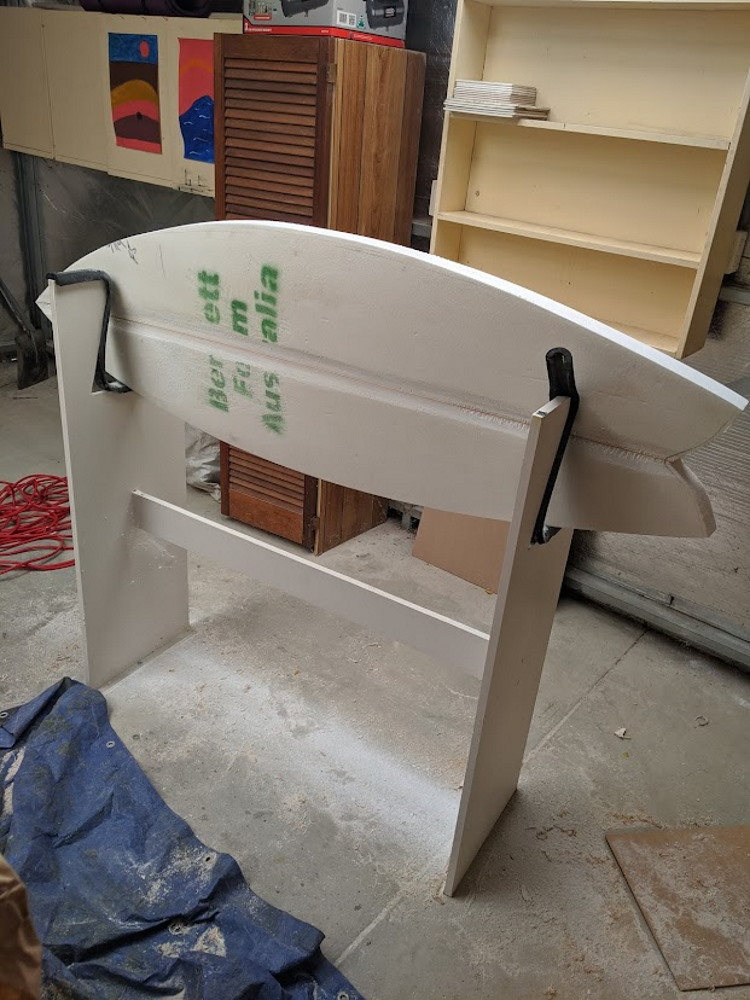
Sand the forward section of the board (below where your chest would be when paddling) to be relatively flat from rail to rail, matching the depth that you planed the stringer to be.
Sanding channels at the rear to direct water flow is a cool experiment, as it can really make a difference with your turns due to water displacement around the fins.
Shaping the deck
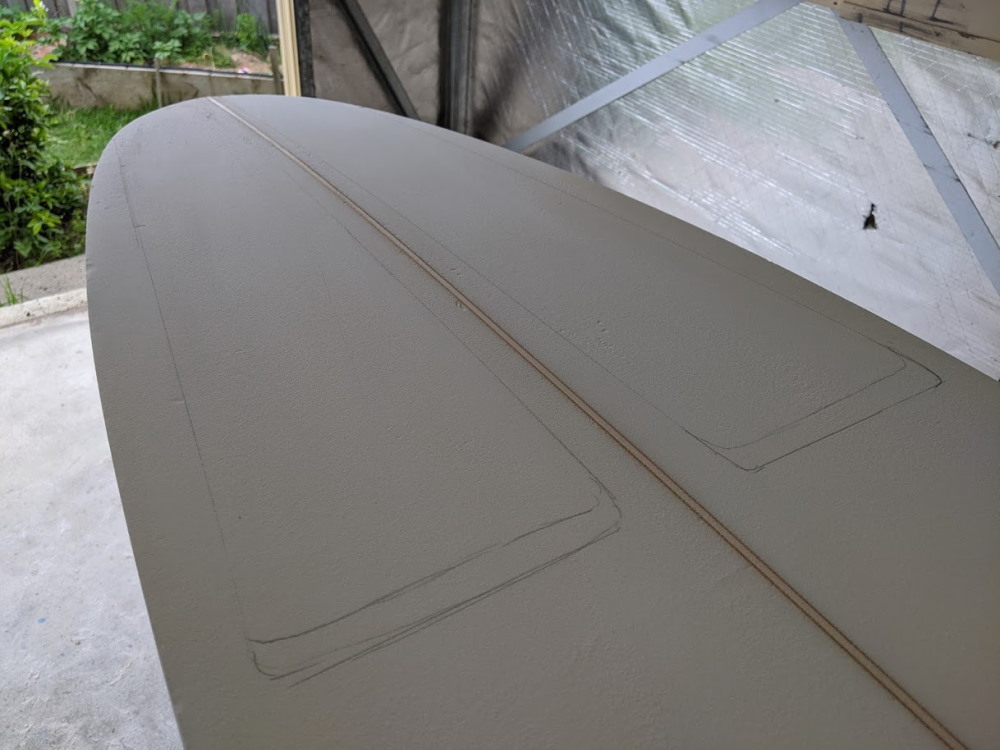
Take out the wood first. A small plane or spokeshave will help you trim down the stringer to your desired thickness.
The foam can be really responsive to grit, so it is important to do long, even strokes to prevent differing surfaces appearing on your deck. Use a caliper to determine how you are going with your deck thickness. There should be a gradual decline from the stringer down to the rail - but this will depend on your chosen rail type.
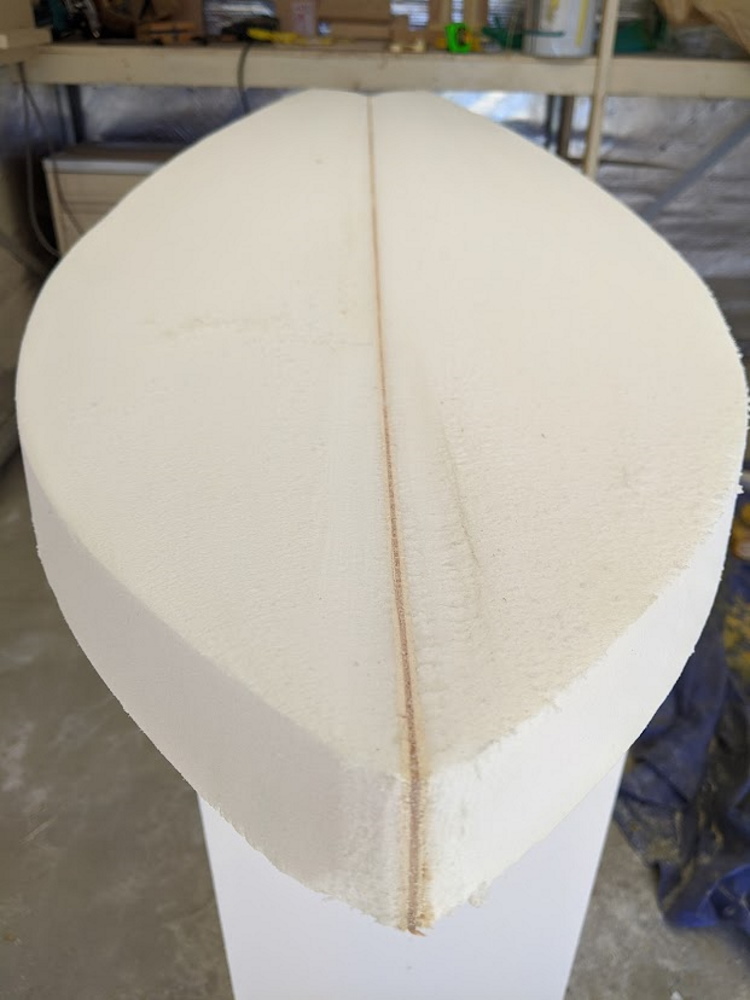
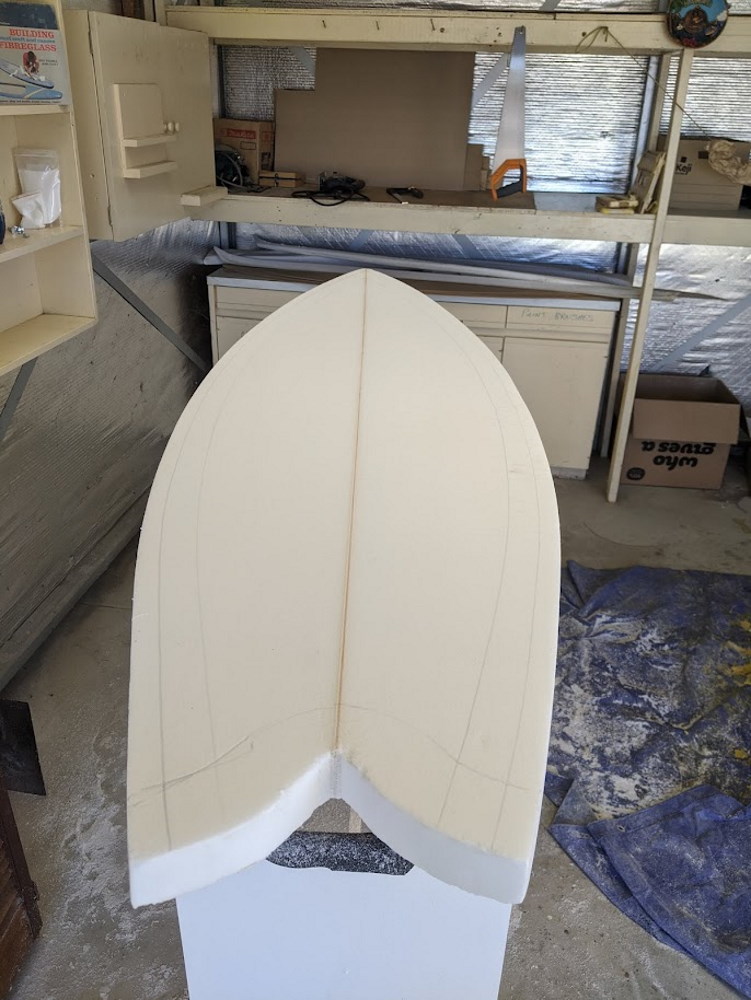
Shaping the nose
Depending on the nose shape you have decided, to a point or round edge, you will need to rough back the stringer to suit.
Shaping the tail
Much like the nose, the tail shape will have to be decided based on your template. There are many different options, including pin and swallow tail.
I will be simply cutting mine of at a squared edge at the rear and rounding the rail slightly.
Shaping the rails
Using the Scribe Tool, measure approximately 3 inches from the outside edge of your rail and draw a line from nose to tail down the length of the board. Draw another line at 1.5 inches.


On the rail, I marked out a one inch line down from the deck, and a 3/8" line up from the bottom.

Commence the sanding, creating a flat section between the 1.5" on the deck, to the 1" line on the rail.

Next, scribe a 3/4" line on the flat surface you have just sanded.

Sand the section between the the 3" and 3/4" lines.

Scribe similar lines on the underside of the board depending on how boxy you'd like your rails to be. This time use the 3/8" line on the rail to samd the bottom edge into a roll.
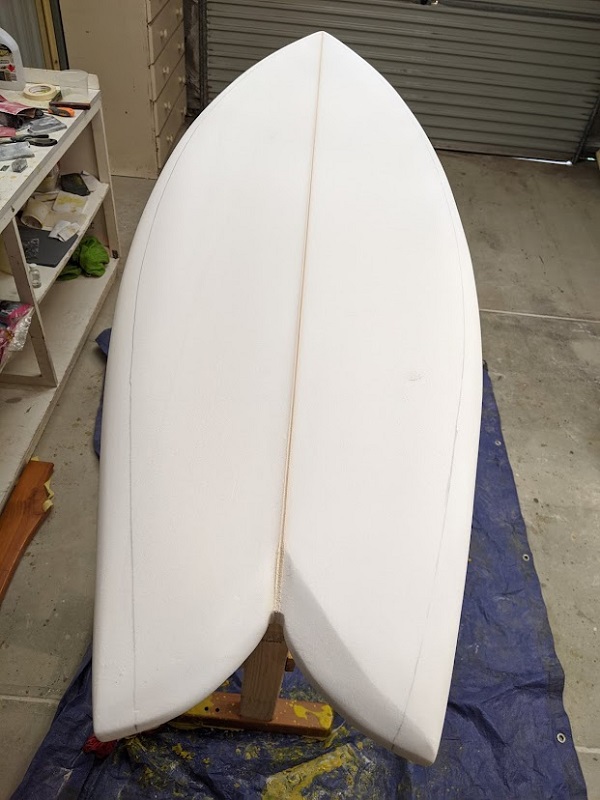
Sand the final roll evenly across the board and feel for any undulations in the foam that need to be gone over.
Ready for fin boxes.
